 |
Posted: 10 Mar 2012 10:32 AM PST  Absolutely anyone can take pictures underwater, either with a cheap disposable or with a standard digital camera inside a waterproof plastic housing. It’s not easy to get really amazing shots with a disposable camera (as with all things, you get what you pay for) but good quality housings are available for many of the popular digital compact families so there’s usually no need to buy a whole new setup for underwater work. Absolutely anyone can take pictures underwater, either with a cheap disposable or with a standard digital camera inside a waterproof plastic housing. It’s not easy to get really amazing shots with a disposable camera (as with all things, you get what you pay for) but good quality housings are available for many of the popular digital compact families so there’s usually no need to buy a whole new setup for underwater work. However, there is a world of difference between being able to take decent photos and getting really outstanding shots. Here are a few tips to help you make the best of your underwater photography: 1) Macro shots are by far the easiest to get rightTaking closeups makes lighting easier and reduces the effects of water that isn’t 100% clear. Shooting through a lot of water will tend to wash out colors even if it looks pretty clear to the naked eye, so the less water there is between the camera lens and the subject, the more vivid the images will be.2) If you don’t have to use a flash, don’tAlthough a flash can be used restore washed-out colors, artificial lighting is hard to get right underwater. First among the problems is backscatter. Light from the flash bounces off tiny particles suspended in the water and comes back to hit the lens, and shows up as a sprinkling of white dots across the image. You might be able to get rid of backscatter in the editing phase but it’s never easy and it’s best avoided. Sometimes natural lighting is all you need.3) If you do have to use a flash, pay careful attention to anglesA flash coming from off to one side or above your camera will mean that reflected light bounces away from your lens rather than coming right back at it. In this way, you can eliminate backscatter by moving from an internal flash to an external strobe.Most pros recommend using two external strobes, one on each side of the camera. Aim them both so that the edges of the beams just hit the subject rather focussing on it. 4) Side lighting can also bring out textures This tip is particularly good for corals, which tend to be richly textured. Either extend your flash as far to one side as possible or get a buddy to help you out and hold your light source a few feet away. Experiment with the angles and you should be able to get all kinds of interesting shadow effects. This tip is particularly good for corals, which tend to be richly textured. Either extend your flash as far to one side as possible or get a buddy to help you out and hold your light source a few feet away. Experiment with the angles and you should be able to get all kinds of interesting shadow effects. 5) Check your setup on the surfaceFrom time to time every photographer runs out of power or memory space. Usually that means nothing more than switching to a spare battery or putting in a new SD card, but when you’re shooting underwater, it’s impossible to do either without going back to dry land and towelling off. A 30 second check before you get wet could save an irritating half hour later.Jess Spate is a scuba diver, a surfer, and an underwater photography enthusiast. She writes for Mozaik Underwater Cameras. Post originally from: Digital Photography Tips. Check out our more Photography Tips at Photography Tips for Beginners, Portrait Photography Tips and Wedding Photography Tips. Introduction to Taking Great Underwater Photos |
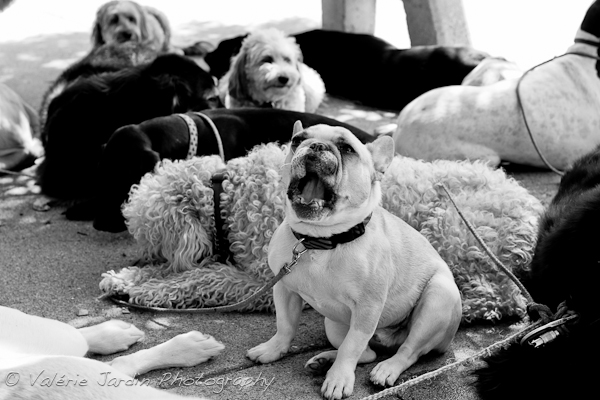
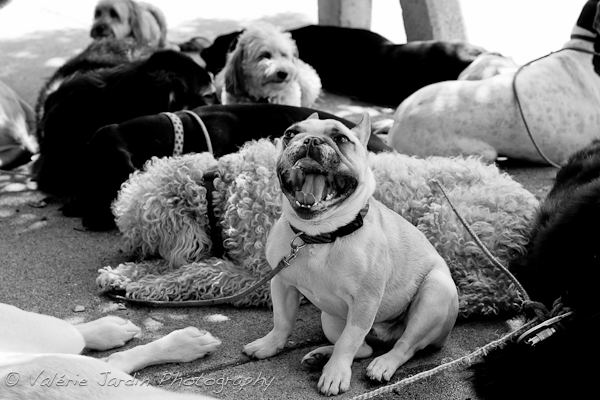
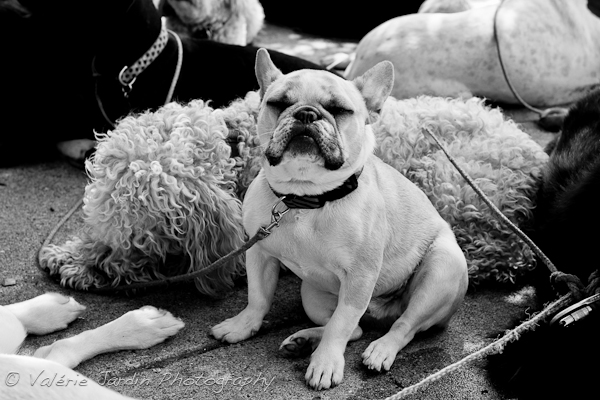
Posted: 10 Mar 2012 06:10 AM PST Are you in a photographic rut? Shooting the same subject over and over? Seeing the same people, the same streets, the same scenery day in and day out? How about an exotic, inspiring, stimulating vacation to perk up your pixels! Not an option right now? Well, you can still change the way you see your familiar surroundings and get excited about your regular photo walks by giving yourself a photo assignment! A photo assignment is a self-driven project that can require one hour or several months – it’s your assignment, so it’s up to you! It’s a way to get out with your camera and improve your skills by challenging yourself. Most importantly, it's a way to keep your passion for the craft fresh and alive! Several photo assignment ideas come to mind. The first is to simply pick a different theme for each photo walk. This is a great idea if you get bored easily or need help staying focused, even for a short time. You might shoot only textures or patterns one day, people with their dogs another day or situations that bring a smile to your face! The list is endless! Your photo walks will soon become a treasure hunt, whether you are alone or with a photo friend. Then there is the 365 day project – a big commitment which can be a lot of pressure. A good way to ease into that would be a 52-week project. These always seem like “a good idea at the time,” but both options are a year-long commitment. Be sure you want to take that on and that you don’t set yourself up for failure. Remember – these assignments are supposed to be fun! If you’ve done the themed photo walks and maybe a year-long project, then consider a challenge on a different level – a photo-journalistic assignment. This can be a one-day event project or a story told over time. An example subject would be a street musician you've seen many times on the same bridge. Start a conversation. Watch folks passing by. Create a photo essay by including environmental portraits as well as detail shots. You can make a simple project more in depth by following an important or touching story for a few days. Again, the options are limitless. Maybe it’s the story of a lost dog you meet at the animal shelter who finally finds a new home. Or a landmark that is being torn down to make space for new developments and the impact that has on the local community. Or tell a simple but fun story with a series of images from your local farmer's market. Arrive early, document the merchants setting up their stalls for the day, their interaction with the customers and closing up. You will catch an interesting variety of lighting throughout the day plus wide shots of the trucks coming and going and activity in the stalls. There will be much to shoot – details of the produce, hands exchanging money, children’s smiles and so on. You can just picture it in your head already, am I right? The goal of the photo assignment exercise is to see your familiar environment with new eyes, and to fall in love with being a story teller with your camera all over again. Oh, and to have fun, too!  Add a tactile dimension to your photography and try shooting some textures, experiment with depth of field and improve your skills in the process.  Sometimes the theme of your photo walk will just present itself to you! That day I met Curtis, the dog walker, and I looked no further. I had a dozen new canine friends to focus on! Post originally from: Digital Photography Tips. Check out our more Photography Tips at Photography Tips for Beginners, Portrait Photography Tips and Wedding Photography Tips. Give Yourself Assignments And Get Out There! |
Tags:
Photography Learning





0 comments:
Post a Comment