| |
Posted: 11 Mar 2012 11:03 AM PDT 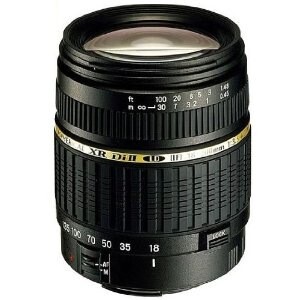 A Guest Post by Michael Agliolo.
I like to think in terms of 35mm equivalent when shooting with these format cameras, so this, all in one, zoom lens plays out at from wide angle 27mm to telephoto 300mm. With that in mind I was surprised as to how compact and light this lens felt. Weighed about the same as an orange (1 lb). The zoom action was smooth with a nice tight feel, no extra movement, very precise. You've got a pretty fast telephoto lens at f/3.5 in the wide mode, and with the VC (Vibration Compensation) built in, I decided to do all my testing hand held. I shot everything in high res jpeg. All images are straight out of the camera with no Photoshop adjustments. I had a bright sunny morning with the sun at about 45 degrees. Blue skies with the temperature in the 40's. I wanted to test this lens under difficult lighting situations, with strong highlights right next to deep shadows. This is where a lens shows its "stuff". I wanted to see if this lens could hold detail in both extreme lighting areas in the same exposure. I got everything packed up in my car and started heading for a location to do the testing…… as I'm pulling out of my driveway I notice my home address sign with light coming through the trees lit exactly like what I was looking for. So I never made it off of my property. There's a good photo lesson there about "seeing photographically", but that's for another time. Take a look at this image (#1). 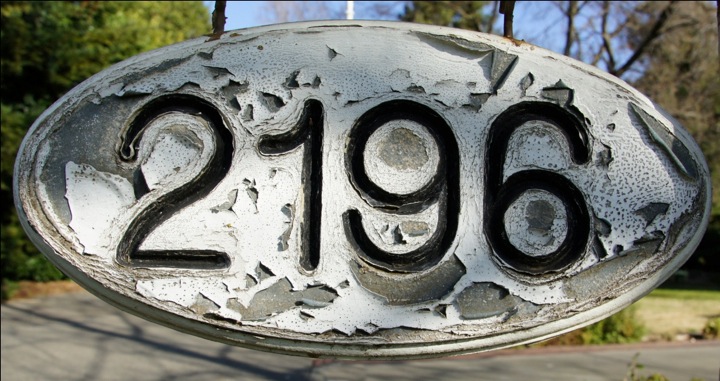 You can see it has all of the elements that are a true test of a lens' capability. There are deep blacks in direct sunlight as well as in deep shade, and at the same time bright whites in both lighting conditions and all of it with lots of texture for detail comparison. These images do the talking. Picture #2 is a zoomed crop at 200%, in an area that contains deep shadows and bright highlights, again with a textured surface. 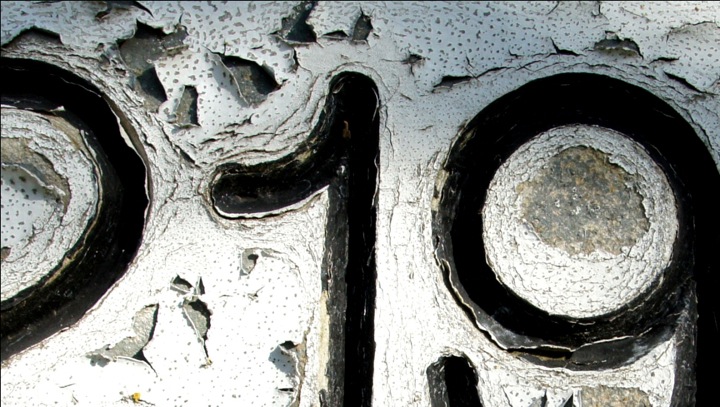 This is a tough one for any lens. You can see good detail in every area. I then wanted to test the quality of the lens zoomed in at maximum, and zoomed out at its widest angle. I moved closer and further back to keep the image the same size for quality test at both ends of the lens' zoom capability. Again the shadows and highlight details were excellent. I am impressed by the results. We've got good detail in all of the areas in both bright sunlight and deep shade. I shot this in the jpeg setting. With these results I doubt that I would have made any adjustments if I had shot this image in RAW. The lens, on auto focus, is fast and quiet The lens has the capability of manual focus, but since there is no viewfinder on this camera it would be tough to do critical focus just through the LCD viewer. The lens macro capabilities were impressive. Here is a shot of an almond blossom. 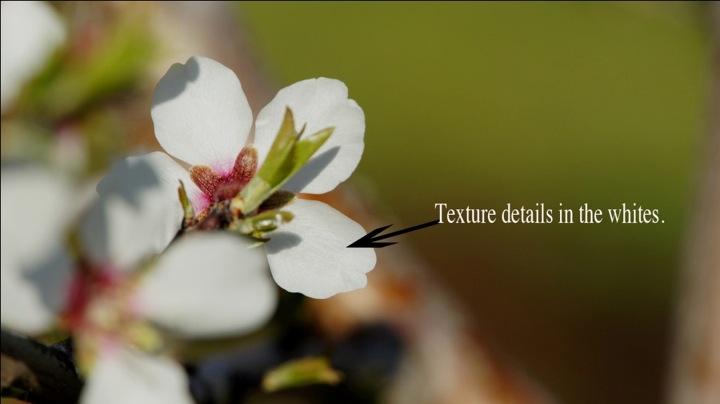 I was standing three feet away from the flower and zoomed in all the way. Check out the detail of the white flower petal in direct sunlight. This lens, for the Sony mirror-less interchangeable camera, is perfectly suited for anyone wanting a compact, lightweight, high quality zoom lens for just about any photo situation. Get a price on the Tamron 18-200mm Zoom F/3.5-6.3 lll VC at Amazon for the following brands of cameras:
Post originally from: Digital Photography Tips. Check out our more Photography Tips at Photography Tips for Beginners, Portrait Photography Tips and Wedding Photography Tips. Tamron 18-200mm Zoom F/3.5-6.3 lll VC REVIEW |
Posted: 11 Mar 2012 07:30 AM PDT When teaching modern digital photography I often forget those new to the general art of photography might not be familiar with classic terms and techniques and I need to take a step back. This post is for those who might have always wanted to ask, "What do people mean when they say 'burn' and 'dodge' in post-processing?". If you can still smell the darkroom fumes when I bring up these terms, you can skip over this post. Burning and dodging are two darkroom techniques used when printing a picture. A negative is placed in a projector and then pointed at a piece of photo paper (much like a slide projector projects an image on a screen). That photo paper is not like the paper you might be used to printing on at home now. It is light sensitive, just like film, and that is the whole reason for creating a darkroom; to control the amount of light hitting the paper which will expose it. Now then, light from the projector passes through the negative and then hits the paper. The timing of the light exposure is controlled to certain tolerances just as the original exposure of the scene onto the negative was controlled. Light hits the negative evenly and then hits the paper evenly. This works well if the scene is even balanced. But what if there are areas that need to be lighter or darker? That's where burning and dodging come in and they are simple. The key to these terms and understanding them is to remember that the paper is white. Dodging is the process of covering over part of the light hitting the paper, creating a shadowed area that does not receive the same light exposure as the rest of the scene. Because this decreases the amount of light hitting the paper (remember; light hitting the paper = darker exposure), it lets more of the white paper show through, effectively lightening the image in that area. Burning is the opposite, it is only allowing light into one area of the image to increase the exposure time in that region and create a darker image for that area. Both employ various methods of covering, from simply using a hand or piece of paper to creating custom templates. Further, the edge of the dodge or burn can be softened by moving the covering slightly as the paper is exposed. All of this allows a photographer to create different exposures throughout one frame, which can more closely mimic the scene as it was when shot, or to use artistic expression to alter an image to one's liking. Now then, how can you use these techniques for your own gain in the modern age? I'm going to show these techniques in use on Adobe Lightroom but they can be practiced on any program which allows for selective masking and exposure changes. First, the image from a recent review of a Sigma 50-500mm lens (click on any image for a larger version). 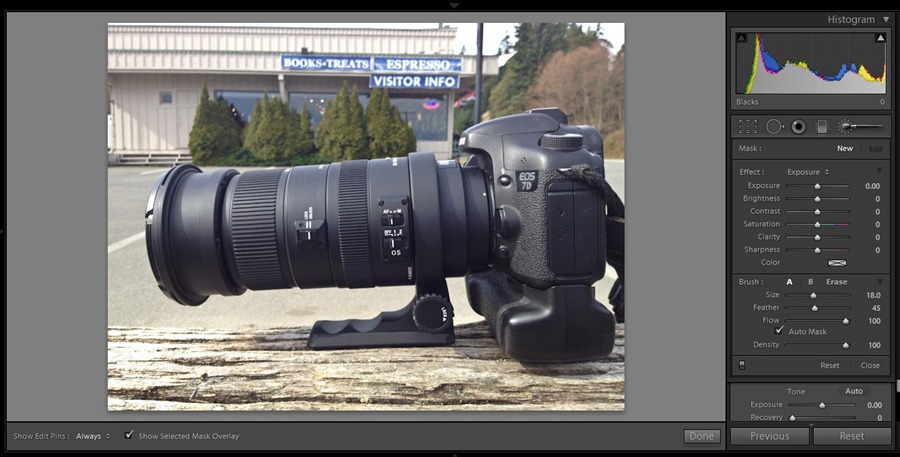 The shot was taken with an iPhone and exposed for the lens with gray, overcast skies. I want to highlight the lens and diminish the background. The first thing I do is choose the Adjustment Brush and the Burn feature as such:  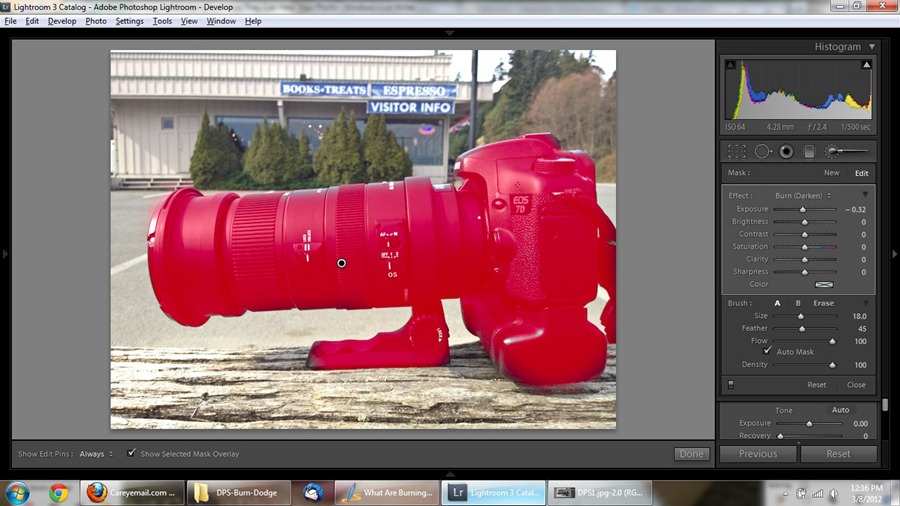 For this photo, the Burn setting is not dark enough for me, to be honest. I take the Exposure for this mask to -1.17 and this is the result: 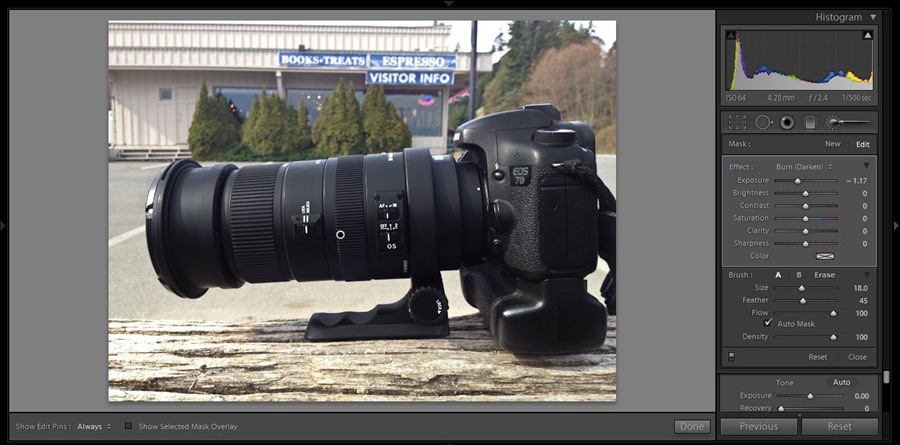 The camera and lens are now darker, helping them stand out better against the background. I now want to do the opposite with the background. I want to dodge it to lighten it, further highlighting the lens. I start by painting a mask of the background: 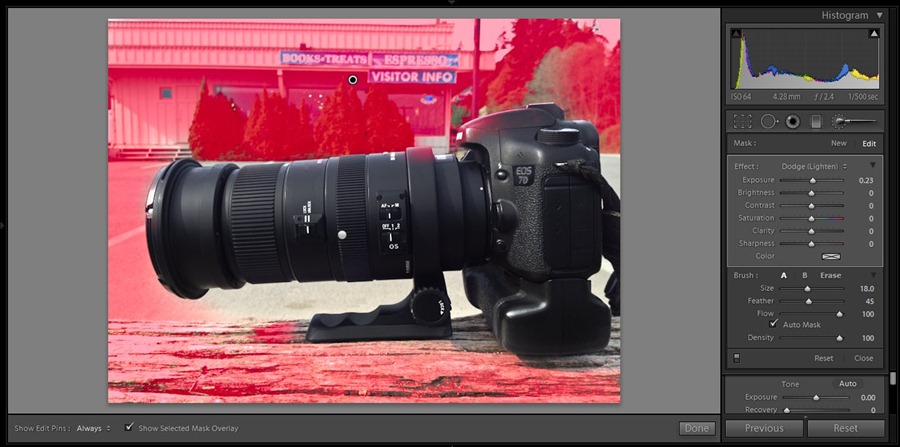 Again, the Dodge is not to my liking and I instead change the exposure for this mask to be lighter.  With these masks, I can also change contrast or brightness (done away with in Lightroom 4) to further highlight my subject if I liked. In this example I am keeping things simple. The result is slight, but can be more dramatic if need be. Before: 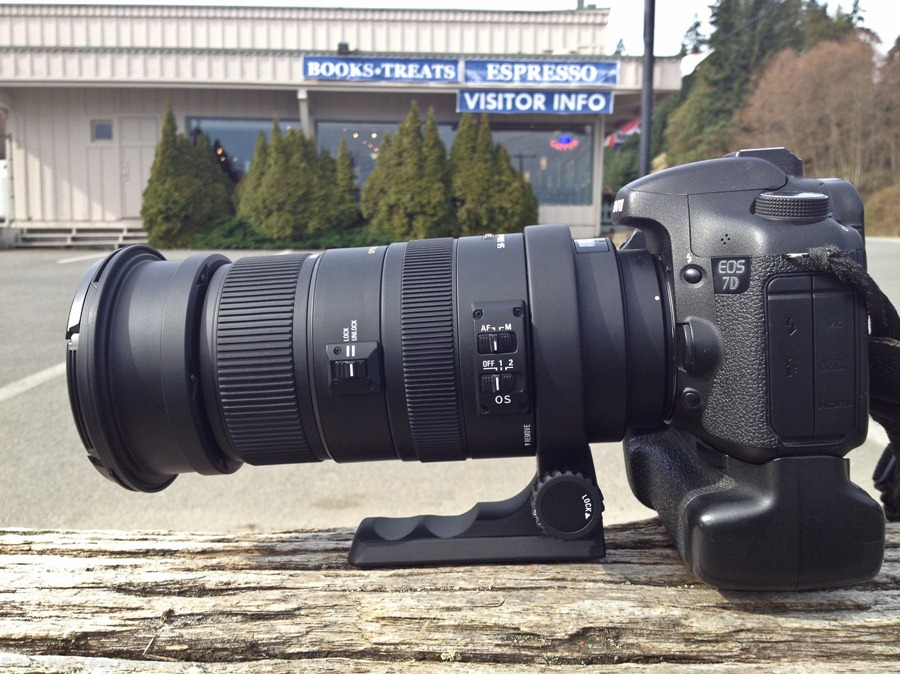 After: 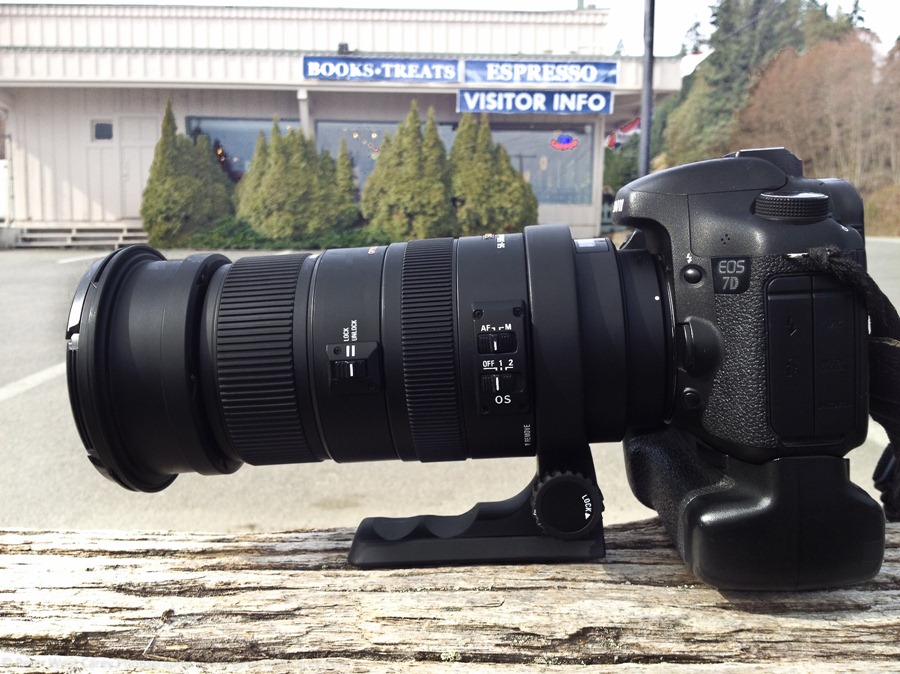 Burning and Dodging have been around as long as making prints has been an art form where the photographer wished more control over their medium. The techniques are still highly relevant in today's modern, digital era and I now hope you have a better understanding of where the terms came from and how best to use them. Thank you for reading. Post originally from: Digital Photography Tips. Check out our more Photography Tips at Photography Tips for Beginners, Portrait Photography Tips and Wedding Photography Tips. What Are Burning And Dodging And How They Can Help Your Photos |
Tags:
Camera Lens


0 comments:
Post a Comment